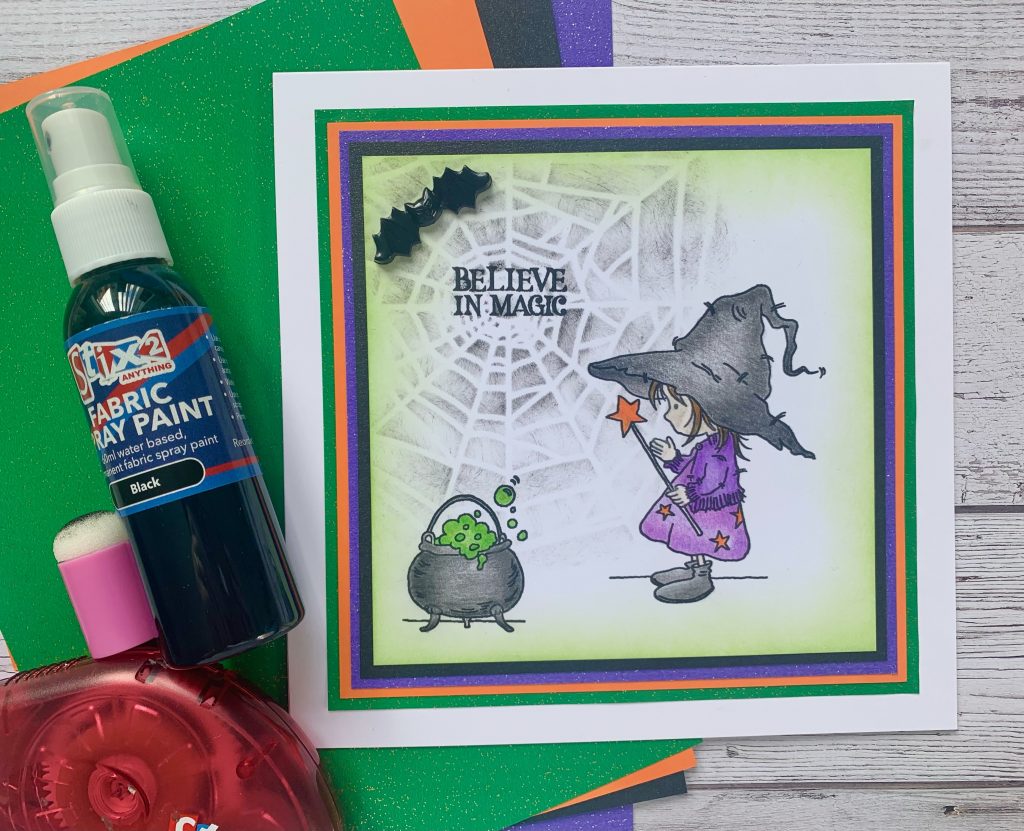
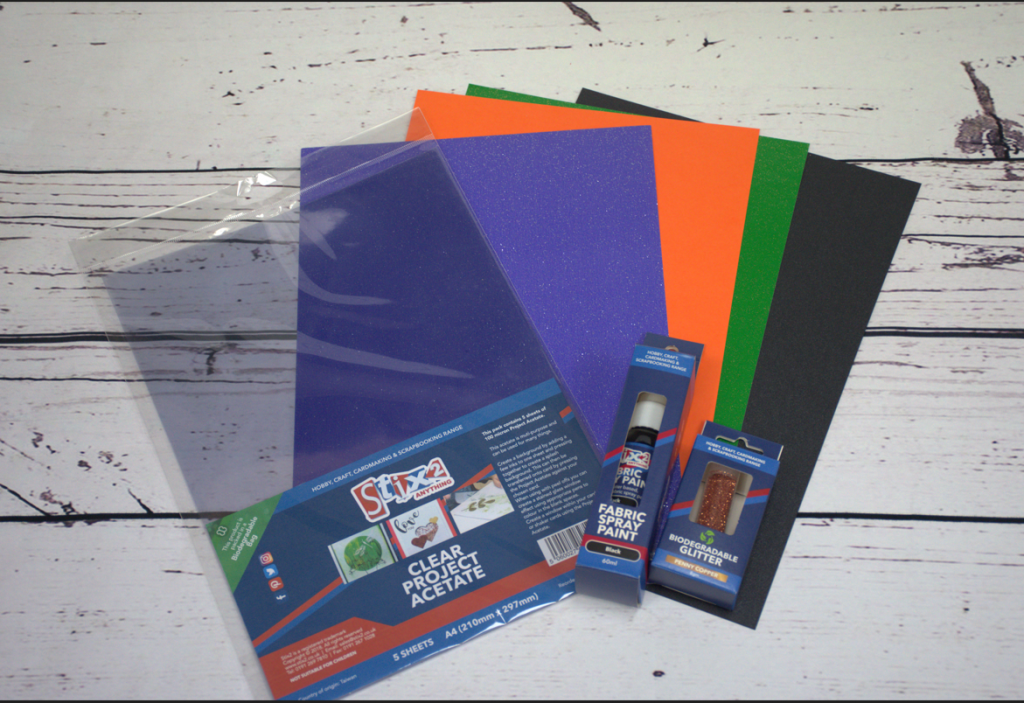
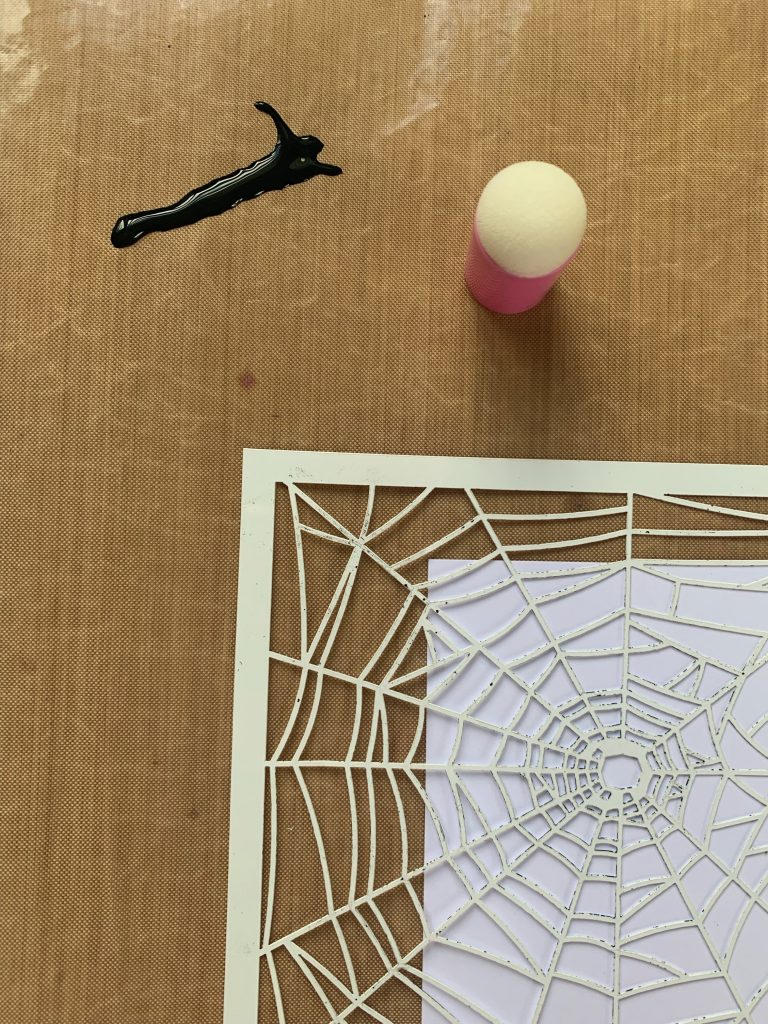
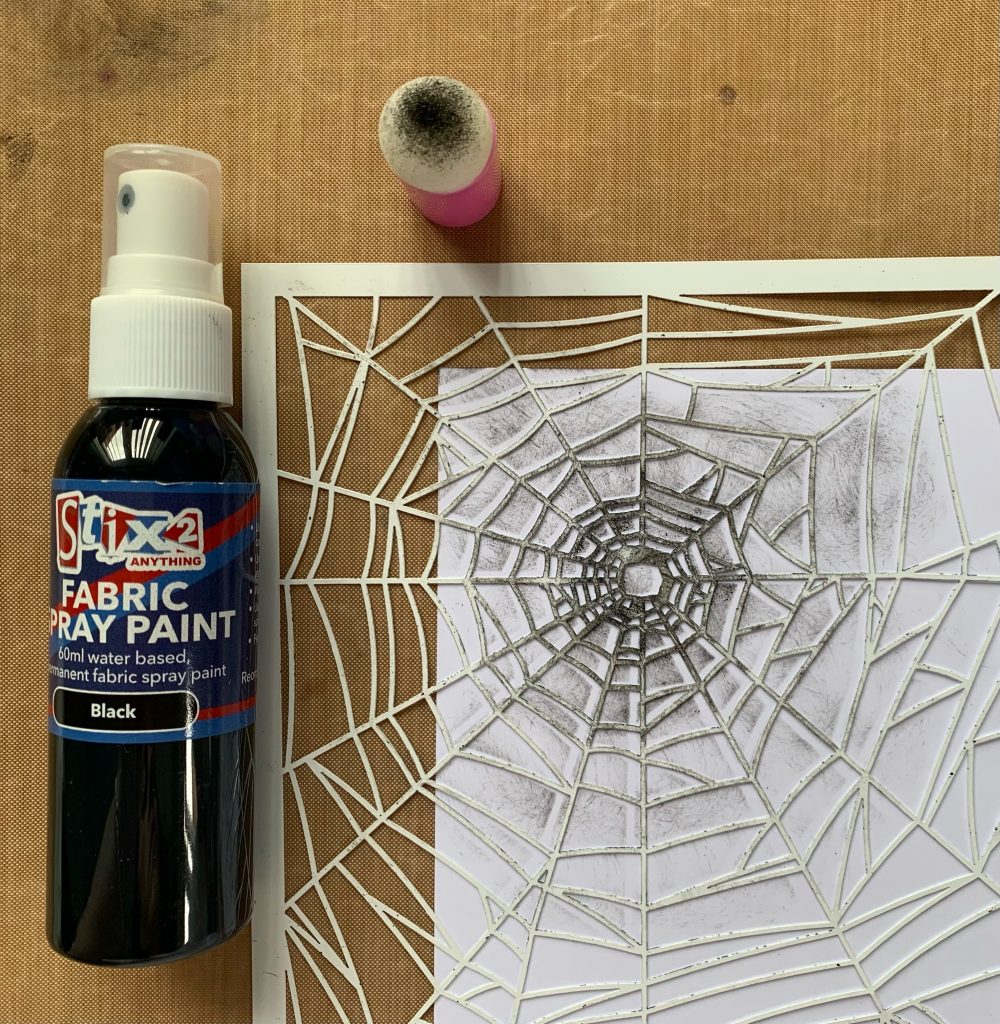
htjhttjjutjtjtujytjt

A personal message from our Directors

A personal message from our Stix2 Directors

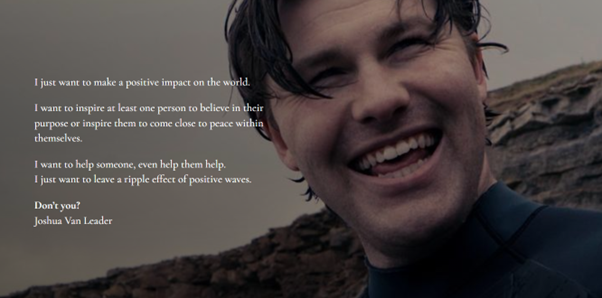
In November 2022 a very close family friend of our Directors, Joshua van Leader, aged 31 years, took his own life after losing a five-year battle with daily constant pain and severe depression.

So, our Directors Matty & Ruth will be running the Great North Run for team JVL, alongside Josh’s Father Mark and Sisters Katie and Emma. Raising money and awareness for the Mental Health Foundation: https://www.mentalhealth.org.uk/

Our Just Giving page for any donation which would be massively appreciated: 

www.justgiving.com/fundraising/ruth-welch6 

Great North Run

Josh van Leader’s story

Joshua’s story is truly inspiring, he created a range of astonishing pieces of work that covers fine and abstract art, men’s fashion clothing, a range of beautiful and thought-provoking poetry books as well as a book that uses his mythical god images (Physiognomy) aimed at helping others with their mental health.

About Josh van Leader

Joshua lived an incredible life spending his early years playing football at an elite level and then moved into men’s fashion design through the Academy of Art in San Francisco. Joshua’s mental health deteriorated after a chest operation. Over a five-year period, he turned to his art creating some incredible fine/abstract art collections, as well as a series of poetry books aimed at mental health.

After Joshua passed his family and friends established the “Joshua Van Leader” organisation with the key aim of getting his work out into the world so that it can continue to help others in the true spirit and manner in which Joshua lived his life.

The organisation has consolidated all of his work into a re-structured JVL website that contains his story in detail, his work broken down into categories and also a series of blogs written from the family since his death that talk about his work, his life and his mental health. 

Be a shining light, long live the magic we have all made we are all in this together.

JVL web site:   https://joshuavanleader.com/

Please take a look at this amazing website and engage with the JVL story and what the organisation is trying to achieve. There is so much material on this website (books and blogs are a good starting point) that could help other people that you know who are suffering with mental health challenges. 

We really appreciate your support and understanding on such a personal message.

Matty & Ruth

And the JVL team

How to ‘Believe in Magic’ with a web-tastic Halloween greeting card!

Don’t get caught in a craft web this Halloween. Instead have a web-stastic time creating magical designs with Stix2!

Follow Elaine Mellor‘s haunting ‘Believe in Magic’ craft guide and draft your very own spooktacular spider web greeting card!


Construct creepy creations this October with our Halloween Card Bundle!

Halloween Card Bundle

Halloween Card Bundle includes:

1 sheet of A4 Black Coalmine Pearlescent Card

1 sheet of A4 Bottle Green Stardust Paper

1 sheet of A4 Tangerine Tinted Card

1 sheet of A4 Violet Stardust Card

60ml bottle of Black Fabric Spray Paint

5 sheets of A4 Clear Project Acetate

8gm tube of Penny Copper Biodegradable Glitter


Treat yourself to our Halloween Card Bundle, haul together your haunting craft supplies and follow Elaine’s wonderful witchy guide!

Materials you will need:

The Devils in the Die Cut Details!

Did you know Tim Holtz has recently released his new Halloween Die Cut Collection for SIZZIX!! We highly recommend you check out his website for some ghoulish and ghastly inspiration!


How to construct the ‘Believe in Magic’ Halloween creation:

Step 1: Cut a piece of white card measuring 5 x 5 inches.

Pop your stencil in place onto the white card using some low tack stencil tape.

Pop a small amount of the black fabric paint on the non-stick craft sheet.


Step 2: Using a foam dauber add some of the black fabric paint through part of the stencil in the top left corner.

Once dry, stamp one of the witches, a cauldron and the sentiment onto the stencilled white cardstock.


Step 3: Using the cardstock and paper from the Halloween Bundle create some matt and layers with black being the smallest.

I went up 1/8 of an inch each time.

Adhere to the card blank using the tape runner and a touch of the PVA in the corners.


Step 4: Colour your stamped images. I used HIMI oil pencils to colour mine.

Ink round the edges of the stamped card in a light green colour using a clean foam dauber.

Finally adhere to the front of the card blank, stick your bat on using the silicone glue and your cute Halloween card is complete.


Handcraft your Allhallows Eve cards and make Halloween that little bit more spooky!

Thank you Elaine for this wonderfully witchy depiction!

How to craft a Festive Shaker Christmas Card

Our Christmas Card Bundle is ideal for those wishing to create a bespoke Christmas Card this Festive Season.

Fancy sending a festive creation to someone special but, not sure where to start?

Our Christmas Card Bundle has all the essential items to help you handcraft something unique this Xmas!


Stix2 Christmas Card Bundle

Christmas Card Bundle includes:

1 sheet of  Red Glitter Stardust A4 Paper

1 sheet of Post Box Red Tinted A4  Card

1 sheet of White Hammer Embossed A4 Card

1 sheet of Snow White Pearlescent A4 Card

1 roll of White Satin Ribbon

1 pack of Clear Project Acetate Sheets (5 per pack, size: 210mm x 297mm)

1 pack of Craft Foam Pads (320 per pack, size: 12mm x 6mm x 3mm)

1 pack of Snowflake Die Cuts (10 per pack)


To help inspire your designs, the craft-tastic Elaine Mellor has kindly created an easy ‘How to’ guide using our Stix2 Christmas Card Bundle!

Materials you will need:


How to craft a Festive Shaker Christmas Card

Step 1: Cut a piece of the Snow White Pearlescent Card measuring 5 x 5 inches and a piece of the Clear Project Acetate 6 x 6.

Step 2: Take the 5 x 5 piece of Snow White Card.

Cut 2 Die Cut White Snowflakes in half and adhere to the edges of the Snow White Card and add another to the middle.

Step 3: Add Double Sided Tape on to the back of the Pearlescent Card around all 4 edges.

Fold the Acetate around 3 of the edges to create a pocket.

Sprinkle sequins into the pocket and seal the last edge down.

Step 4: Add 3D Foam Pads to the back of the shaker and adhere to the front of a white 6 x 6 inch card.

Step 5: Die cut the word ‘Joy’ from the Post Box Red card and glue to the front of the card using 3D PVA.

  Add some ribbon and the card is finished.

Handcraft your Seasonal Cards and help make Christmas that little bit more magical!